QR codes are a convenient way for clients to take assessments on their smartphone. This guide will show you how to setup a QR code and make suggestions about integrating a QR code into your practice’s workflow.
QR codes are ideal for in-clinic assessments with workflows such as:
Generating a QR code
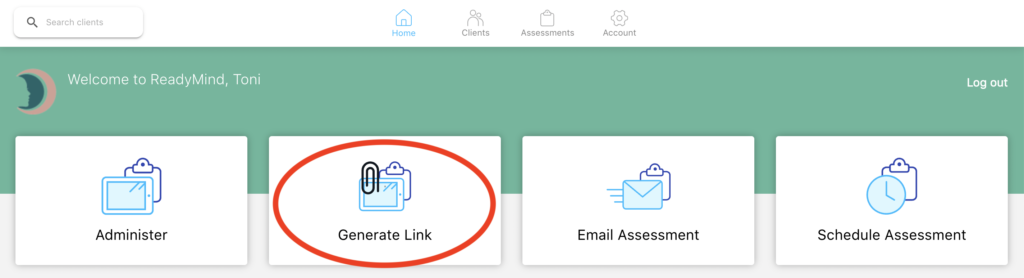
Step 1. From the home screen within ReadyMind, press “Generate Link”.
Step 2. Select “Respondent to enter own details”. This will ask the patient to enter their own name and DOB, which creates a client record within ReadyMind (or if they already have a record with the exact same First Name, Last Name and DOB, it will add the assessment to their existing file).
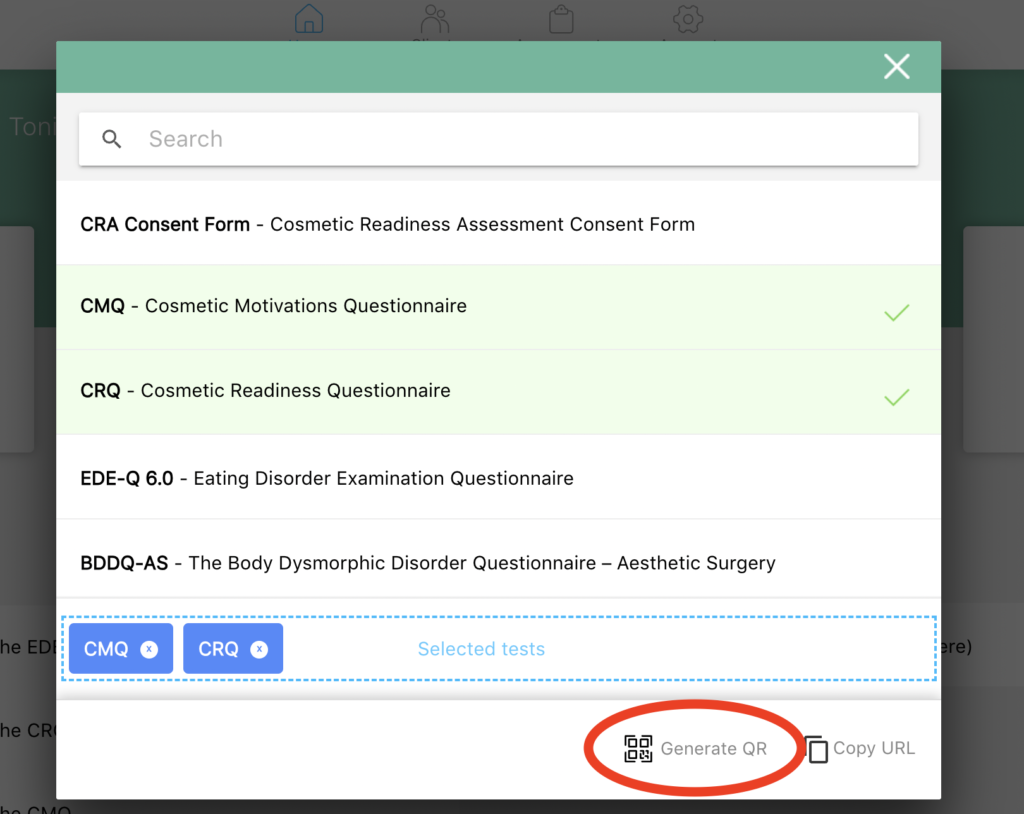
Step 3. Select the assessment(s) that you would like to administer, and then click “Generate QR”.
Step 4. A large QR code will then appear on the screen that can be scanned with a smartphone’s camera.
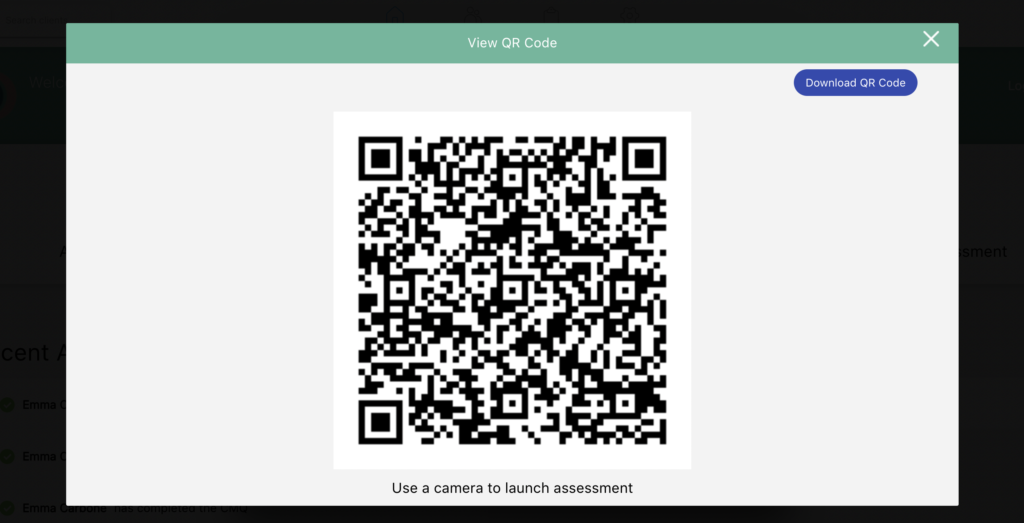
From here you have a number of options:
When a particular practitioner or a supervisor adds a patient or creates a QR code, that patient is automatically assigned to them.
However, when an Account Manager creates a link or QR code and the respondent enters their own details, that patient is not assigned to any user. Clients of the Account Manager who are not assigned to any user, provided that the client is active, are viewable by any user (even practitioners). All users having access to unassigned clients is helpful in the case where, for example, an assessment link or QR code is setup by an Account Manager and the respondent enters their own details. Practitioners may require quick access to that client’s results, so allowing all users access to unassigned clients accommodates this.
An Account Manager or Supervisor can decide to restrict access to an unassigned client by either assigning the client to a user (so only that practitioner will have access), or marking that client as inactive. Only active clients who are not assigned are accessible by all users.